OmniVESA
by PimoroniThe perfect mounting solution for your Raspberry Pi!
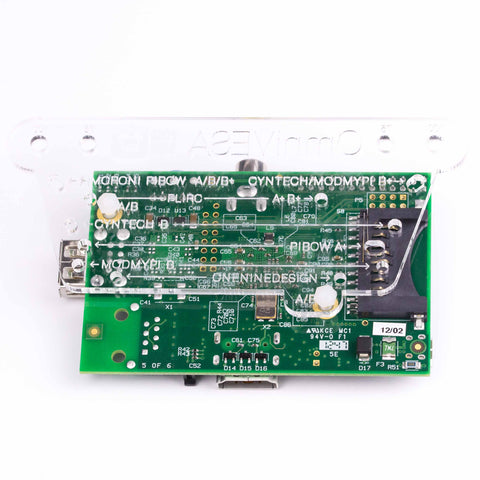
Simply remove the protective backing from the OmniVESA and follow the instructions below to mount your Raspberry Pi either bare or in any of the most popular cases.
The nylon screws provided are long enough to work with all of the relevant cases, though if you find they are protruding too far from the case of your choice you can easily trim them down using some cutting pliers. Just remember to use eye protection when cutting!
The OmniVESA supports 75mm and 100mm spacing mounts
Kit contains
- 1 x OmniVESA
- 2 x M4 16mm Nylon Knurled Thumbscrews
- 2 x 5mm Nylon Spacers
- 2 x M2.5 x 16 nylon screw
- 3 x M2.5 nuts
Raspberry Pi uncased - use the nylon bolts provided to attach the Pi to the VESA mount using the mounting holes on the Pi itself
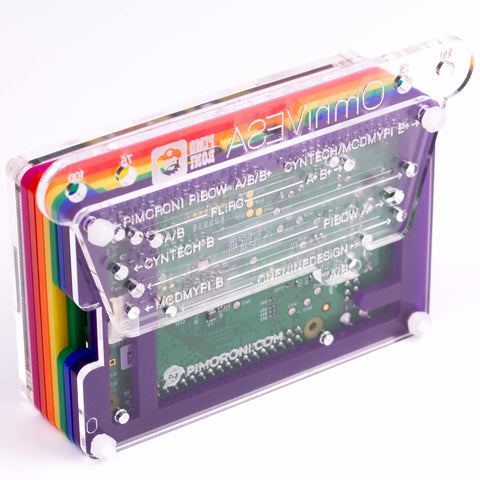
Raspberry Pi Model A+ in Coupé Royale Pibow - use the screws provided to attach the OmniVESA under the base layer of the Pibow as shown
Raspberry Pi Model A/B/B+ in Pibow - use the screws provided to attach the OmniVESA under the base layer of the Pibow as shown
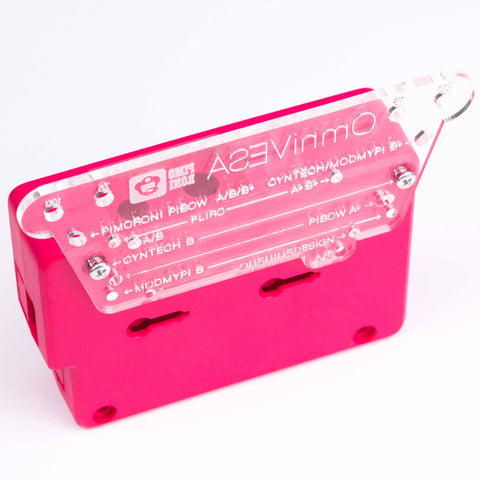
Raspberry Pi Model B+ in ModMyPi/Cyntech case - the metal screws provided with the case to secure it together will also allow the OmniVESA to be mounted on the base as shown
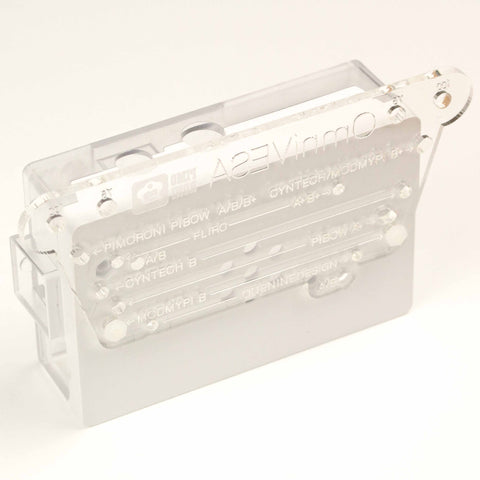
Raspberry Pi Model B+ in FLIRC case - replace two of the metal screws usually used to secure the case together with the two nylon bolts provided with the OmniVESA and use them to secure the case together with the OmiVESA attached to the base
Raspberry Pi Model B+ in One Nine Design case - The base of the case has two recessed mounting holes you can use to mount the case to the OmniVESA using the nylon screws provided before you put the Pi in the case.
Raspberry Pi Model B in ModMyPi case - two holes in the base will allow an OmniVESA to be mounted under the case using the nylon bolts provided
Raspberry Pi Model B in Cyntech Case - the metal screws provided with the case to secure it together will also allow the OmniVESA to be mounted on the base as shown
-
OmniVESA
PIM011£3.50
Shop with confidence – we've been serving the hobbyist electronics, Maker, and retro gaming communities since 2012.
- Satisfaction or refund guarantee
- Worldwide shipping via mail or courier
- 57,000+ customer reviews
- Secure website and payments


